It’s time for the Festive Friday Challenge, where every challenge is a party! For FF0008, we are honoring Wine Day and/or Watercolor. You can create a card to celebrate Wine Day (May 25th), or a card featuring watercoloring, or a watercolored Wine Day card or project! Whatever way you decide to create is fine with us! We would love to have you play along, so don’t forget to link up.
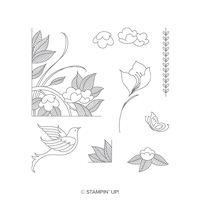
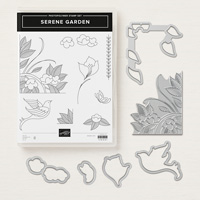
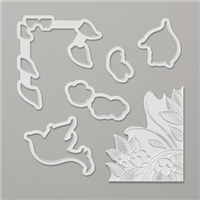
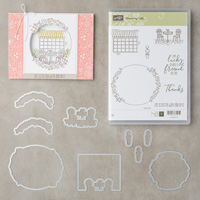
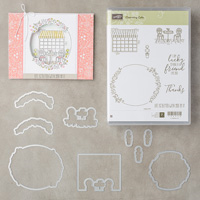
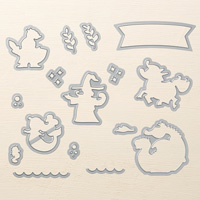
This week I created a watercolored card using the new Serene Garden Bundle (148395), available June 1st. I really love this photopolymer set, and I hope you will, too!
Watercolored Card
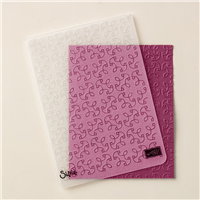
A Sneak Peek at the Serene Garden Bundle
2018 – 2019 Annual Catalog

Colors of the Day
Plus these new colors : Balmy Blue ~ Sea Foam Green
The Stampin’ Schach Design Tips
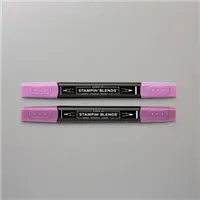
The background florals on today’s card were watercolored using Crumb Cake, Daffodil Delight, Old Olive, and Rich Razzleberry Stampin’ Blends. A new color, Balmy Blue, was used to outline the image. I usually use Soft Sky and a Blender Pen to highlight my watercolored images, but since Soft Sky is retiring, I decided to try one of our new colors. Balmy Blue did the trick. However, I did take a lot color off the Blender Pen before using it.

The butterfly was inked in Rich Razzleberry, and accented with Clear Wink of Stella. The bird was colored with Smoky Slate. Once again, Clear Wink of Stella was used to add sparkle, as you can see in the picture below.

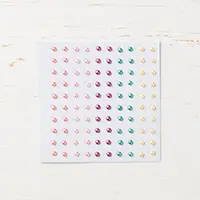
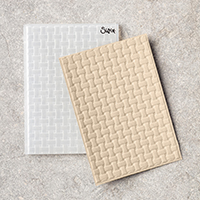
The Basket Weave Textured Impressions Embossing Folder adds a touch of texture to the Whisper White panel, which was matted onto Soft Sea Foam cardstock to form the card base. New Share What You Love Artisan Pearls are the perfect finishing touches.

The Challenge Twists
As mentioned earlier, Festive Friday is a challenge with twists. If you do not wish to create a Wine Day project, you could create a project featuring watercoloring. We offer alternatives for each challenge. Plus, if you play along with us, you will be earning Fest Points which can be redeemed for items such as tutorials (including the tutorial for today’s card), retired Stampin’ Up! products, design team cards, and even a spot as a Guest Designer! But remember: To earn Fest Points, you need an account on the challenge site. Just click on login/register on the challenge site to get started.
To see all of the inspiration our Design Team has created for you, head on over to Festive Friday Challenges!
Would you like to create your own card? If you enjoyed today’s card, and would like to create your own, the supply list is located below. Clicking on a product takes you right to my store. Be sure to use this month’s Host Code. Online orders over $50 (before tax and shipping) will receive a little gift from me IF you use the Host Code. If your order is $150 or more, please do not use the Host Code. You will automatically receive the gift from me, as well as your own Host Rewards.
 MAY: 6V6WCX7D