It’s time for the Stamp Review Crew: Bubble Over Edition! If this is your very first visit to one of our hops, the Stamp Review Crew is a group of international Stampin’ Up! demonstrators whose mission is to do a blog hop on the first, third and fifth Mondays of each month. Our hops are unique because each of us features the same stamp set used in a variety of ways, giving you loads of inspiration for that set. The hops are archived at the Stamp Review Crew blog. You will be able to click through each hop at any time, going directly to the posts for that hop whenever you want. This week we are featuring the Bubble Over stamp set. If you are following along in order, you have just arrived from Charlet Mallett. She is SO talented. After visiting me, you will continue to the next stop, the incomparable Linda Callahan. She has never made a card that I haven’t absolutely loved. She has such a creative eye. Enjoy this week’s hop!
The Stamp Review Crew: Bubble Over Edition

Bubble over is such a cute set. While many of the cards created with it are designed using bright colors, I decided to use a more subtle palette. It’s an easy card to create, and one which could be used not only for birthdays, but weddings and anniversaries, too! I hope you enjoy today’s card!
Colors of the Day
The Stampin’ Schach Design Tips
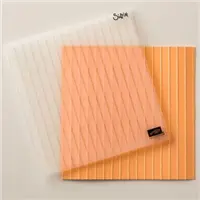
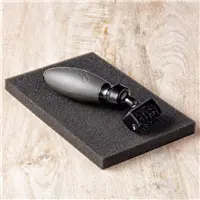
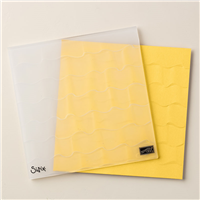
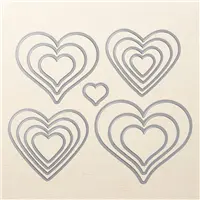
The Ruffled Dynamic Textured Impressions Embossing Folder creates such a soft look, especially when created from Soft Sky card stock. It’s the perfect backdrop for the heart, which was watercolored in Soft Sky and Sweet Sugarplum.

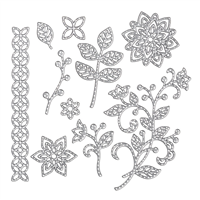
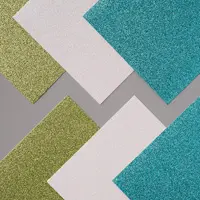
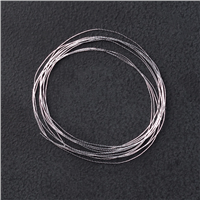
Myths & Magic Iridescent Glimmer Paper, silver metallic thread, and a single rhinestone add the perfect amount of bling. A vellum bottle was die cut, and placed over the Sweet Sugarplum to add to the softness.

The sentiment was stamped in Basic Gray and then cut apart in order to stagger its placement on the card.

This card will be sent to one of my Boxer buddies who is celebrating her birthday in a few days. She adores soft colors, so I think this will be a perfect card for her.
I hope you enjoyed today’s card. If would like to try your hand at creating your own Bubble Over card, the supply list is located below. Clicking on a product takes you right to my store. Not only will online orders over $50 (before tax and shipping) earn you a FREE Sale-A-Bration item, you will also receive a special little somethin’-somethin’ from me IF you use the Host Code. If your order is $150 or more, please do not use the Host Code. You will automatically receive the gift from me, as well as your own Host Rewards.

March: EZ6394WF
Of course, if you ever have a question about the cards I create or the techniques I use, I am only an email away. Now hop along to Linda Callahan to see what she has in store for you! If you get lost along the way, you can find a list of all the hoppers at The Stamp Review Crew.


 March: