It’s Tuesday Newsday, and time for the latest specials and offers from Stampin’ Up!
More Than Just Cards

Who doesn’t love using stamps, paper and inks to create gorgeous home decor pieces? I know I do! Stampin’ Up! is offering us fabulous inspiration with this framed Halloween scene. I know I will be making this spooky piece to give away as a gift – and maybe, just maybe, I will be making a second one to keep for myself. Just think what YOU can create for your own home, or to give as a gift. Let your imagination run wild!
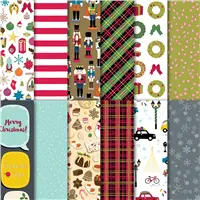
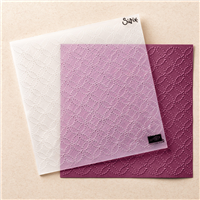
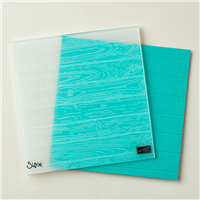
 Do you love Designer Series Paper and want to take advantage of an incredible sale? Then place your order today. Only one week remains of my favorite sale of the year – Buy three packages of select Designer Series Paper and get one FREE! See the papers that are included below. Don’t be disappointed- place your order today!

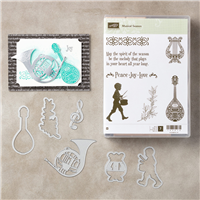
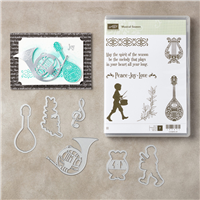
 Don’t miss out on “Paper Pumpkin – The November Edition”! The November kit coordinates with the October kit, but is a stand alone kit. This means you do not need October’s kit in order to enjoy November’s selection. To receive November’s kit, you must must subscribe HERE by 11:50 PM (MT) on November 10. Don’t miss out!

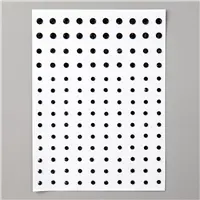
There is only one week left to earn the amazing Merry Patterns stamp set. Here are the details:
- The Merry Patterns Stamp Set is will not be available after October 31. Order before 11:50 PM (MT) October 31st.
- In order to qualify for this amazing stamp set, place an online order or hold a qualifying workshop of $300, before shipping and handling. I can also place a customer order for you.
- There is no limit to the number of times the Merry Patterns Stamp Set may be earned, but only one set can be redeemed per qualifying order.
- The Merry Patterns Stamp Set is in addition to Stampin’ Rewards!


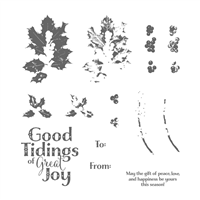
On November 1st, you will be saying hello to a new world of colorful creativity! Meet Stampin’ Blends, artist-quality alcohol markers in 12 exclusive Stampin’ Up! colors. To cover all the blending bases, Stampin’ Up! is also offering a limited-time 16-card project kit and stamp set with beautiful line-art images.
- Add just the right amount of color where you need it with the brush tip or fine-point.
- Each color (except Ivory and Bronze) has a light and dark shade marker, available individually or in a combo pack.
- Press fit seal prevents air from entering the barrel and causing evaporation.
- The nestable lids are easy to keep track of and have a tight fit for long-lasting color.
Ready to learn more? Watch this video!
Check out the amazing line-up of products in this brochure!

Click HERE to open.

FREE! Use my exclusive Host Code for October and get a FREE gift with a $50 purchase. You won’t want to miss out on FREE Striped Treat Bags from me!

To qualify, place a $50 or more product order (total before shipping and tax) through me using the host code above by October 31st (11:50 p.m. Mountain).
ORDERS OF $150 OR MORE (before shipping and tax) should not add the code and will automatically earn the Striped Treat Bags.
The Treat Bags will arrive separately from your order in mid-November or sooner.
Looking for a Retired Stampin’ Up! stamp set? Check out my list. Over 100 sets available. New, reduced prices!
As always, if you have any questions, I am only an email away! Until next time…