I am not one who sends out a lot of New Year’s cards, but the Cheers to the Year stamp set is changing my mind about that! Today’s card is elegant and glitzy…and oh so easy to make, especially when you have a tutorial. I hope you enjoy this quick and easy Cheers to the Year card, and the step-by-step tutorial.
Colors of the Day
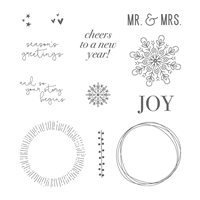
Quick and Easy Cheers to the Year
Here are the papers you will need:
144640 – Year of Cheer Specialty Designer Series Paper (3-3/4″ x 5″)
140272 – Whisper White Thick Cardstock (4-1/4″ x 11″ card base)
100730 – Whisper White Cardstock (2-1/2” x 2-1/2”, 2” x 2”)
132622 – Gold Foil (3-7/8” x 5-1/8”, 3” x 3”, 1-3/4” x 1-3/4”, 2-1/2” x 2-1/2”, 2-1/2” x 2-1/2”)
Here are the inks:
126978 – Soft Suede
102283 – VersaMark
And here are the rest of the goodies:
143263 – Big Shot
141705 – Layering Circles Framelits
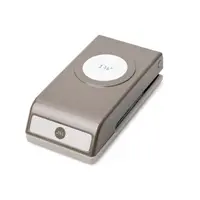
119860 – 1-3/8” Circle Punch
133782 – 2” Circle Punch
144667 – Leaf Punch
129053 – Heat Tool
133457 – Gold Stampin’ Emboss Powder
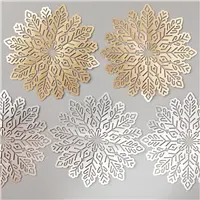
144642 – Foil Snowflakes
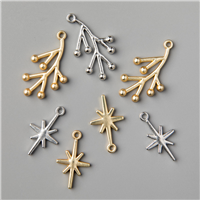
144643 – Year of Cheer Embellishments
138402 – Silver Metallic Thread
104430 – Stampin’ Dimensionals
104332 – SNAIL Permanent Adhesive
103683 – Mini Glue Dots
Instructions:
1. Create the card base by scoring and folding the Whisper White Thick Cardstock at 5-1/2”.
2. Mat the Year of Cheer Specialty Designer Series Paper onto gold foil and adhere to the card base.
3. Adhere the Silver Foil Snowflake to the center of the card.
4. Create a Gold Foil scalloped circle using the 2-1/8” scalloped Layering Circles Framelit. Add Silver Metallic Thread to the back. Adhere to the card base using dimensionals.
5. Ink the Lines image with VersaMark and heat emboss with Gold Stampin’ Emboss Powder. Adhere to the Gold Foil scalloped circle.
6. Create a smaller Gold Foil scalloped circle using the 1-7/16” scalloped Layering Circles Framelit. Adhere to the embossed Lines circle.
7. Stamp the sentiment in Soft Suede ink. Punch out with the 1-3/8” Circle Punch. Layer on top of the smaller Gold Foil scalloped circle using a dimensional.
8. Punch out two sets of Gold Foil leaves. Use glue dots to adhere under the edges of the large scalloped circle.
9. Using glue dots, adhere two Season of Cheer Embellishments on top of the leaves.

I hope you will give today’s card a try! It would look equally as pretty with any of the papers in the Year of Cheer Specialty Designer Series Paper collection. In fact, I am going to whip up a few more of these to mail out to friends using some of these other patterns.
I’ll be in Shakopee, MN this weekend, cheering on Jackie! I can’t wait to see my snuggle buddy again. He has been with Amy the Handler for several weeks now, since he had to stay with her to attend the American Boxer Club Regional Show in Maryland while I was at OnStage Live in Salt Lake City. However, he will be able to come back home to stay in a couple of weeks. Woo hoo!

Although I think this picture of his head is stunning, I think the picture which follows captures his personality. I have captioned it, “This is MY mom, and you can’t have her!”

It was taken in Ft. Wayne, IN a few weeks ago. Unfortunately on the very first day he sprained his toe, and didn’t get to show at all that weekend. However, he got lots of special cuddle time!
As always, if you every have any questions about the cards I create or the techniques I use, I am only an email away. Until next time…


 Click HERE or on the flyer above to see the stamps listed in the 24 Hour Flash Stamp Sale AND a list of items offered during Online Extravaganza!