It’s Sunday, and time to play with The Paper Players! This week, the lovely Sandy has planned a fun theme challenge for us: Trees and Leaves. Any kind of leaf or tree is welcome, including Christmas trees.
 As you can see, I opted to create an easy, elegant Christmas card. I hope you enjoy today’s card. I’ll be anxious to hear what you think, so don’t forget to leave a comment!

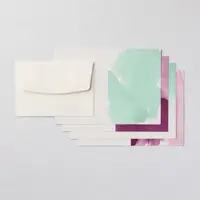
Colors of the Day
The Stampin’ Schach Design Tips
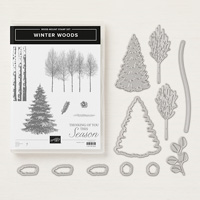
If you love easy, elegant Christmas cards, then today’s card is the one for you. The tree is from the Winter Woods stamp set. It was heat embossed in gold and die cut with the coordinating In the Woods framelit. The ovals were created with the Layering Ovals framelits. Easy peasy! Tip: To save on gold, cut the scalloped oval out of the bigger piece of gold foil.

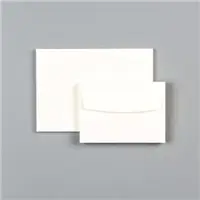
The textured panel (3-1/2″ 4-3/4″) is courtesy of one of my favorite embossing folders, Softly Falling. To continue with the elegant theme, it was layered onto a gold foil mat measuring 3-3/4″ x 5″.

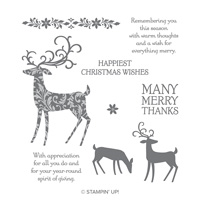
The sentiment, from the Dashing Deer stamp set, was stamped in Soft Suede ink. Soft Suede is a great color to use for sentiments if you do not want to heat emboss in gold. The “Happy” part of the image was trimmed off, and the ends were snipped to form a banner. Mini-dimensionals were used to “pop” it up. Of course, I just had to add pearls, so a trio of gold ones were used as accents.

If you are looking for a card to send to family and friends, this card may be the ticket. The ovals are quick to create. Since my husband loves to run the Big Shot, he will be on “Oval Duty” when I whip up several of these cards this week. The larger borders are very forgiving, and you save time by stamping the sentiment in Soft Suede instead of heat embossing it.
If you would like to create your own easy and elegant Christmas card to send out this holiday season, the supply list is located below. Clicking on a product takes you right to my store. Be sure to use this month’s Host Code. Online orders over $75 (before tax and shipping) will receive a special little somethin’-somethin’ from me IF you use the Host Code. If your order is $150 or more, please do not use the Host Code. You will automatically receive the gift from me, as well as your own Host Rewards.

October: YMF93SAZ
The Paper Players Design Team
Claire Broadwater
Jaydee
Anne Marie Hile
Joanne James
Laurie Schmidt
LeAnne Pugliese
Sandy Mathis
Annie Abrahamson
Jan Clothier
Elizabeth Stewart
- Are you in search of a specific retired stamp set? I just might have it on my list of Retired Sets for Sale.
- If you are in need of a Holiday Catalog or the Annual Catalog, and you do not have a demonstrator, please email me (ann@thestampinschach) and I will drop one in the mail to you!


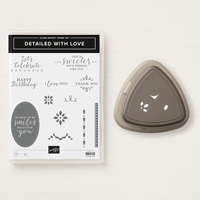
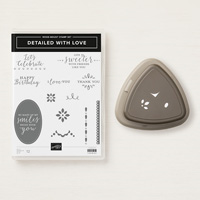
 It’s time for the Festive Friday Challenge, where every challenge is a party! For FF0018, we are celebrating Sweetest Day (October 20th) and/or Stripes. I opted to create this quick and easy romantic card to hand to my “sweetie”. Whatever way you decide to create is fine with us. We would love to have you play along.