Halloween Treat Boxes for On the CASE

In the market for Halloween treat boxes? These cuties are quick and oh-so-easy.  Welcome to another edition of On the CASE with Ann & Nicole!

Halloween Treat Boxes

While I break down samples from current Stampin’ Up!® catalogs, my On the CASE partner, Nicole, is using her investigative skills to solve CASES throughout the crafting universe. Let the fun begin!

Coffin Shaped Halloween Treat Boxes
Holiday Catalog Pages 52 – 53
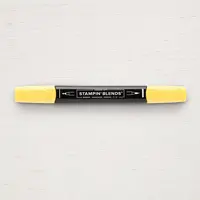
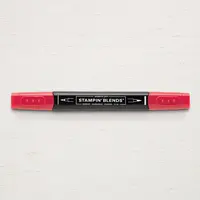
Halloween Treat Boxes Colors of the Day

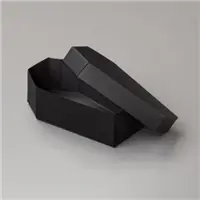
Coffin Treat Boxes

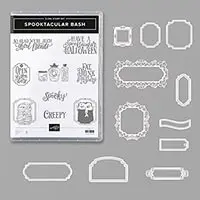
Stamp:  Spooktacular Bash
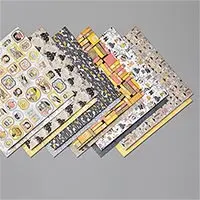
Paper:  Smoky Slate (1″ x 3-3/4″, 2-1/2″ x 3″, 2″ x 1″), Whisper White cardstock (2-1/2″ x 2″, 1-3/4″ x 2″), Monster Bash Designer Series Paper (3″ x 3″ square of Newsprint pattern), Coffin Treat Boxes
Inks: Tuxedo Black Memento, Light Mango Melody Stampin’ Blend, Dark Real Red Stampin’ Blend, Light Smoky Slate Stampin’ Blend
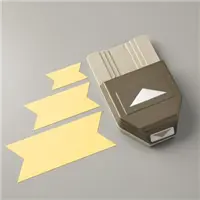
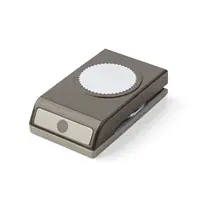
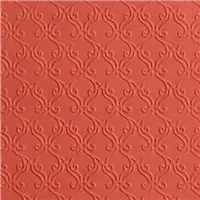
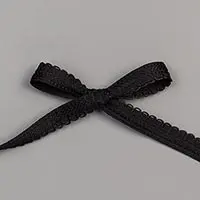
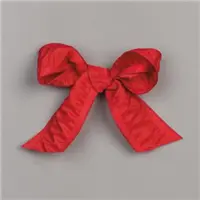
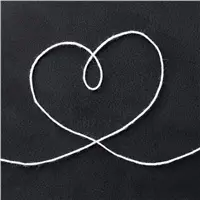
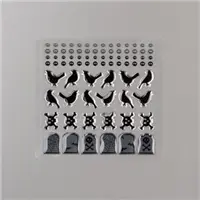
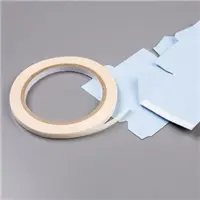
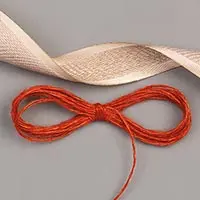
Other:   Ornate Frames dies, Stylish Scroll embossing folder,  Starburst punch, Banner Triple punch, Basic Black 3/8″ Scalloped Edge Ribbon, Real Red 1″ Ruched Ribbon, Whisper White Baker’s Twine, Monster Bash Enamel Shapes,  Mini Glue Dots, SNAIL, Stampin’ Dimensionals, Tear & Tape Adhesive

“On the CASE” Notes
Your Step-by-Step Guide
Dracula Box:

halloween treat boxes

1. Emboss the coffin lid using the Stylish Scroll embossing folder.  Assemble the box using Tear & Tape adhesive.

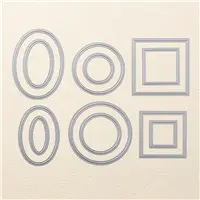
2.  Die cut the square Ornate Frame from Smoky Slate cardstock. Adhere to the box top.

3.  Ink the vampire image with Tuxedo Black Memento ink.  Use Stampin’ Blends to color:  Frame – Light Mango Melody; Shirt – Dark Real Red; Background – Light Smoky Slate. Die cut using the coordinating Ornate Frame, and adhere to the Smoky Slate frame with dimensionals.

4.  Line the inside of the coffin using Real Red 1″ Ruched Ribbon.  Adhere using Tear & Tape adhesive.

5.  Ink the sentiment in Tuxedo Black Memento Ink, and die cut using the coordinating die.

6.  Create a bow from Basic Black 3/8″ Scalloped Edge Ribbon.  Add the sentiment to the bow using Whisper White Baker’s Twine. Adhere the bow to the treat box using glue dots.

7.  Accent with Basic Gray Monster Bash pearls.

8.  Fill with your favorite treats!

Spooktacular Halloween Box:

Halloween Treat Boxes

1. Emboss the coffin lid using the Stylish Scroll embossing folder.  Assemble the box using Tear & Tape adhesive.

2.  Add Basic Black Scalloped Ribbon around the edge of the box top.

3.  Emboss the Smoky Slate strip of cardstock using the Stylish Scroll embossing folder.  Create a “V” using the Banner Triple punch.  Add to the box top.

4.  Punch a Starburst from the Monster Bash Newsprint designer paper.  Adhere to the box.

5.  Ink the sentiment with Tuxedo Black Memento ink onto Whisper White cardstock.  Die cut using the appropriate Ornate Frame die.  Adhere to the box.

6.  Accent with a Skull and Crossbones Monster Bash enamel shape.

7.  Fill with your favorite treats!

Halloween treat boxesReady to make your own Halloween treat boxes?  Download the tutorial. Just click on the tutorial button below to print off the instructions.  For more step-by-step tutorials, don’t forget to visit my 2019 PDF Tutorial Gallery!

Now head on over to Nicole at  Pixel Maven’s Retreat to see the CASE file she has been working on.  Nicole always writes the BEST tutorials!

BUY 3 – GET 1 FREE DESIGNER SERIES PAPER SALE

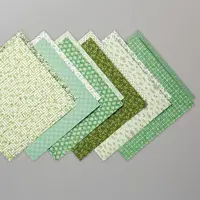
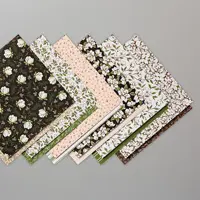
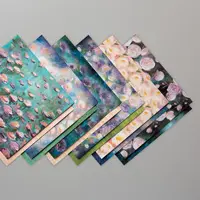
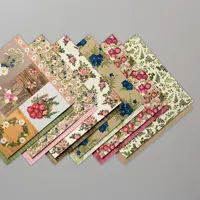
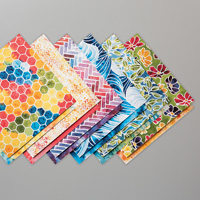
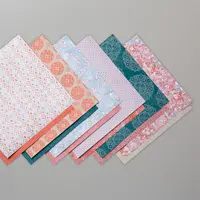
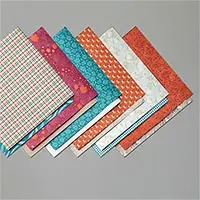
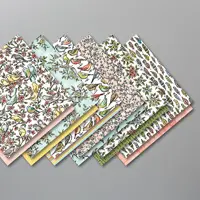
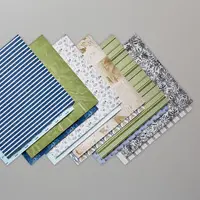
Now through September 30th, select Designer Series Papers from the 2019 – 2020 ANNUAL Catalog are now on sale. Buy three of the papers shown below at regular price and receive one free!
_____________________________
September Host Code Information

Ready to order supplies to make your own cards? I would love to be your Demonstrator.

When checking out, if you apply the Host Code to your online orders of at least $75, but under $150, you’ll get a free gift from me. If your order is over $150, please do not apply the host code – you will be receiving your own host rewards, as well as your gift from me. All orders of $50 or more earn points toward my Loyalty Rewards Program (Details HERE).

September Code: XUH7X9GE
________________________________________

As always, if you have any questions about the cards I create or the techniques I use, I am only an email away! Until next time…siggy-1

Fall Thank You Card for The Paper Players

Ready to start making fall thank you cards? If so, check out today’s card.  It’s time to play with The Paper Players!  (A Brody Update can be found at the end of today’s post.)

Fall Thank You CardI have the pleasure of being the host for this week’s color challenge.  I hope you like the rich colors I have selected for you.

Fall Thank You Card

With it’s cooler temps and gorgeous colors, Fall is my favorite time of the year.  I had so much fun creating this fall thank you card. I hope you enjoy it!

The Stampin’ Schach Design Tips

The focal point of today’s fall thank you card is a trio of colorful die cut leaves.  The trick to getting the veins to stand out is to spritz the cardstock with water, then run it through the die cutting machine.

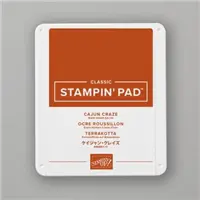
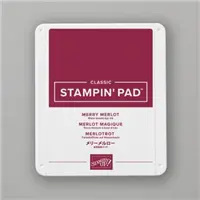
This gorgeous designer paper is from the Come Together collection. I used the Barnboard pattern as my neutral.  If you look closely, you can see that I stamped Cajun Craze pumpkins and Merry Merlot speckles on the larger circle.

Fall thank you cardA Cajun Craze linen thread bow and three Pretty Peacock rhinestones are perfect embellishments, don’t you think?

Download the tutorial! If you would like the complete details on how to create this fall thank you card, just click on the tutorial button below to print off the instructions.  For more step-by-step tutorials, don’t forget to visit my 2019 PDF Tutorial Gallery!

For more inspiration, please be sure to visit The Paper Player team members.

BUY 3 – GET 1 FREE DESIGNER SERIES PAPER SALE

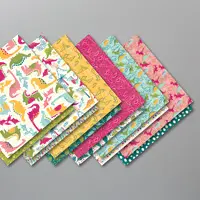
Now through September 30th, select Designer Series Papers from the 2019 – 2020 ANNUAL Catalog are now on sale. Buy three of the papers shown below at regular price and receive one free!
_____________________________
September Host Code Information

Ready to order supplies to make your own cards? I would love to be your Demonstrator.

When checking out, if you apply the Host Code to your online orders of at least $75, but under $150, you’ll get a free gift from me. If your order is over $150, please do not apply the host code – you will be receiving your own host rewards, as well as your gift from me. All orders of $50 or more earn points toward my Loyalty Rewards Program (Details HERE).

September Code: XUH7X9GE
________________________________________
Brody Update

The meds, which we were hoping would shrink Brody’s latest tumors, were proving to be ineffective. In his latest check-up this past Friday, it was decided to go ahead and attempt surgery on his foot. His vets, all of whom have treated him since he was a young puppy, were of the same opinion.  They felt the risks of leaving an aggressive tumor, which would affect both the quality and length of life significantly, outweighed the risks of putting him under anesthesia at his age.  His surgery is scheduled for Wednesday.

As always, if you have any questions about the cards I create or the techniques I use, I am only an email away! Until next time…siggy-1

Masculine Thank You Card for FF0042

If you need a masculine thank you card, take a look at this nautical version. It’s time to play at Festive Friday!
masculine thank you cardThis week we have a fun challenge, and a new format, for you – Talk Like a Pirate!  Your goal is to use three or more items from the inspiration list we give you. I used Black, Gold, Water, and Rhinestones.  I can’t wait to see what YOU create! Have fun with this one!

masculine thank you card

Colors of the Day
masculine thank you cardThe Stampin’ Schach Design Tips

Paper Measurements:

  • Whisper White Thick cardstock (4-1/4″ x 11″)
  • Whisper White cardstock (3-3/4″ x 5″, 2-3/4″ x 3-3/4″ for oval, 2-1/2″ x 3-1/2″ for lighthouse, scrap for sentiment)
  • Basic Black cardstock (4″ x 5-1/4″)
  • Gold Foil (scrap)

Stamp Sets/Bundles:

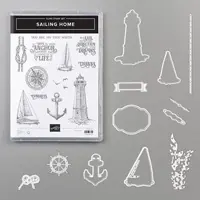
  • Come Sail Away Bundle (Sailing Home stamp set, Smooth Sailing dies)

Instructions:

1.  Score the Whisper White Thick cardstock at 5-1/2″.  Fold and crease to form the card base.

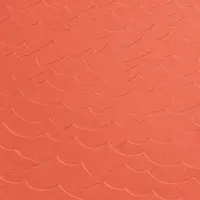
2.  Emboss the larger Whisper White panel using the High Seas 3D embossing folder. Adhere to Basic Black cardstock and add to the card base using dimensionals.

3.  Die cut an oval from Whisper White cardstock using the largest Stitched Shapes Oval die. Ink the birds image with Tuxedo Black Memento ink and stamp as shown. Adhere the oval to the card base with dimensionals.

4.  Ink the lighthouse image with Tuxedo Black Memento. Die cut using the coordinating die. Adhere to the oval.

5.  Die cut the ship’s wheel from Gold Foil.  Adhere to the oval.

masculine thank you6.  Ink the sentiment with Tuxedo Black Memento. Die cut using the coordinating die. Adhere to the oval, using two dimensionals on the left end.

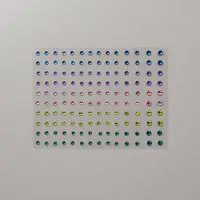
7. Accent with three rhinestones as shown.

masculine thank youDownload the tutorial! If you would like a printable copy of the details on how to create this masculine thank you card, just click on the tutorial button below to print off the instructions.  For more step-by-step tutorials, don’t forget to visit my 2019 PDF Tutorial Gallery!

Don’t forget to visit The Festive Friday team members for more inspiration.

The Holiday Catalog is LIVE

The 2019 Holiday Catalog is now live! Be prepared to be amazed!

Holiday CatalogClick HERE to Open the 2019 Holiday Catalog

If you would like a paper copy of the 2019 Holiday Catalog, and do not currently have a demonstrator and plan to shop through me, please email me: [email protected] and I will drop one in the mail to you. I would LOVE to be your demonstrator.

BUY 3 – GET 1 FREE DESIGNER SERIES PAPER SALE

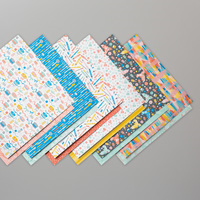
Now through September 30th, select Designer Series Papers from the 2019 – 2020 ANNUAL Catalog are now on sale. Buy three of the papers shown below at regular price and receive one free!
_____________________________
September Host Code Information

Ready to order supplies to make your holiday cards? I would love to be your Demonstrator.

When checking out, if you apply the Host Code to your online orders of at least $75, but under $150, you’ll get a free gift from me. If your order is over $150, please do not apply the host code – you will be receiving your own host rewards, as well as your gift from me. All orders of $50 or more earn points toward my Loyalty Rewards Program (Details HERE).

September Code: XUH7X9GE

________________________________________

As always, if you have any questions about the cards I create or the techniques I use, I am only an email away! Until next time…

siggy-1