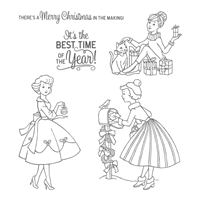
The Christmas in the Making stamp set tugged at my heart strings from the first moment I saw it. Maybe it’s because it reminded me of the carefree days of my childhood and the wonderful Christmases of my youth. At any rate, once I colored the first image, which you can read about HERE, I was smitten with the idea of coloring all three and having them framed to display on my mantle during the holiday season. I hope you enjoy the second card I’ve created with this set.
Colors of the Day
The Stampin’ Schach Design Tips
When folded this card measures 4-1/4″ wide by 5-1/2″ tall.
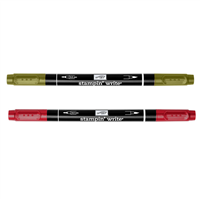
When I faux water color, I simply touch the tip of my Blender Pen to the ink pad, release a little of the color onto scrap paper, and then color away. I remove quite a lot of color in the process before touching the image, because it is always easier to add more color as I shade. Another little tip is I will outline in Stampin’ Write Markers, and then pull the color into the image using a Blender Pen. This is very evident on the Real Red bows and Lemon Lime Twist apron.

Everything is “shadowed” in Soft Sky, and although it does not show in the picture, I added a little Clear Wink of Stella to the holly leaves and the ornament.
Color Right Along with Me Using This Faux Water Color Video Tutorial
I have prepared a video that illustrates the technique I use. Originally, it was going to be a mini-tutorial, but it just grew longer and longer. Many of you remember my video tutorials from a few years ago. Things haven’t changed much. I’m a low tech gal, as you will see! But like I always told my students back in the day, if you learn just ONE new thing, it was worth the time.
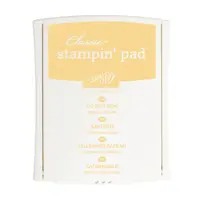
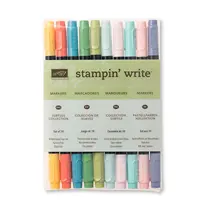
If you would like to color along with me, grab your Blender Pens and the following inks and Stampin’ Write markers: Lemon Lime Twist, Pool Party, Powder Pink, Real Red, So Saffron, and Soft Sky. Before starting the video, stamp the image in Archival Basic Black ink onto a 3-1/4″ x 4-1/2″ piece of Shimmery White card stock, and you’ll be good to go! Full screen will enhance your viewing.
Here are the first two cards, side by side:

I hope you will visit me next week for the final card in the trio. And remember, if you ever have any questions about the cards I create, or the techniques I use, I am only an email away. Until next time…
There’s still time to participate in my Holiday Shares! Here are the SHARE OPTIONS. Just email me with your choice.
Looking for a retired stamp set, framelit or punch? Please check out MY LIST and send me an email!


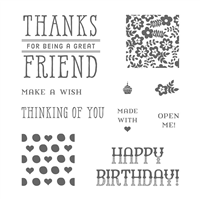
 I stamped the sentiment in Archival Basic Black ink, and cropped it out using the largest circle from the Stitched Shapes Framelits. I then stamped it again in Berry Burst, and cropped out the “For Being A Great” section. The ends were snipped, and it was popped atop the circle with Mini Stampin’ Dimensionals. Three sequined and pearled flowers embellish the banner.
 Pictures really do not do this card justice. It is indeed a shimmering confection of sequins and Wink of Stella. It will be heading off to a dear woman who truly is a great friend, but not before I reminisce one more time about Aunt Evelyn’s dress…
 If you would prefer a cleaner design, the above card might be right up your alley. Although the Blooms and Bliss designer paper is retired, there are a multitude of fabulous Stampin’ Up! papers which can be substituted. You can check out the original post