


Wednesdays usually mean that it is time to take a quick peek at my Pals Paper Arts inspiration card. I know that since we are probably all so excited about the Holiday Mini going live today, that it will be difficult to concentrate on any thing else! But as you can see, there is texture and a bit of bling on my card! And while you are waiting for the complete reveal on Thursday, don’t forget about the yummy blog candy that I am giving away!

In celebration of the new Holiday Mini going live, I felt like a little blog candy was definitely in order. Simply let me know your favorite product from the Holiday Mini and all of these retired Stampin’ Up! items could be yours. Please leave me a comment with your answer on the original post HERE by Wednesday, September 1st, 10:00 PM CST and you could win:
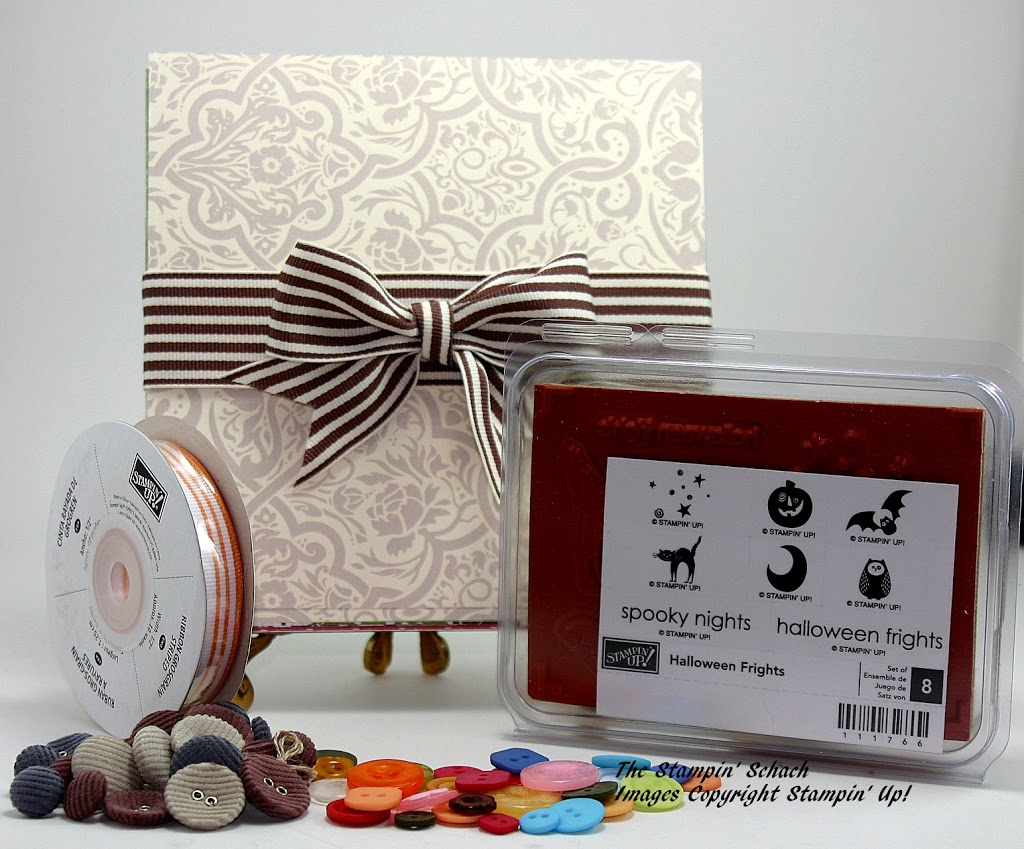
- 50+ sheets of assorted Designer Series Paper, cut into 6″ x 6″ sheets
- 50 buttons
- 10 yards of Pumpkin Pie Striped Grosgrain Ribbon
- unmounted Halloween Frights stamp set
I’ll choose a random comment and announce the winner on Thursday, September 2nd. Note: I only ship within the U.S. The winner will have 24 hours to email me their name and mailing address! So be certain to check in on Thursday! And if you need a copy of the Holiday Mini, please email me and I will drop one in the mail for you for FREE! As I mentioned yesterday, my favorite item from the Holiday Mini was the Decorative Label Punch! It is the perfect size for many of my favorite sentiments! But like many of you who have commented already, I have a very long Wish List! Here are more of my favorites:
Halloween Stamp Set: Dark and Dreary…So “Poe-etic”
Fall Stamp Set: French Foliage—So versatile and chic
Christmas Stamp Set: Bells and Boughs tied with Christmage Collage—Both are Christmas vintage at its best!
A la Carte Stamp: Christmas Postcard
Designer Series Paper (Fall): Autumn Spice
Designer Series Paper (Christmas): Deck the Halls
Other Items: Spider Web and Northern Flurry Embossing Folders; Fabric
Honorable Mention: Everything else! Stampin’ Up! hit a home run with this catalog!
Even if you have already left a comment yesterday, it’s OK! Leave another one and let me know what you think about today’s sneak peek!
Three Days Only—The Bling is On Me!
Everyone knows I love to add bling to my cards! In celebration of the Holiday Mini, anyone placing a $75 on-line order (before shipping and taxes),will receive a package of Basic Pearls. On-line orders totalling $150 (before shipping and taxes), will receive a package of Basic Pearls AND Basic Rhinestones! When I receive confirmation of your on-line order, I will mail your pretties to you! This special is available only on September 1st – September 3rd! Click Here to place your order. Until next time…

![]()


