It’s time for the Festive Friday Challenge, where every challenge is a party! For FF0022, we are celebrating Christmas and/or Snowflakes. I selected the “twist” and created a snowflake card which uses the Beautiful Blizzard stamp set and Blizzard thinlits die. Whatever way you decide to create is fine with us. We can’t wait to see what you create!
Snowflake Card

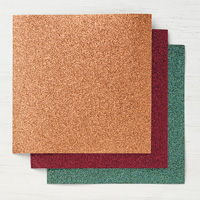
Colors of the Day

Stamps and Papers and Inks…Oh, My!
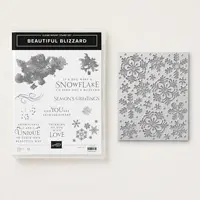
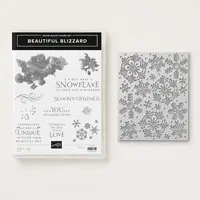
Stamps: Beautiful Blizzard
Paper: Whisper White Thick Cardstock (5-1/2″ x 8-1/2″), Sparkle Glimmer Paper (5-1/2″ x 4-1/4″), Blueberry Bushel (5-1/4″ x 4″), Whisper White (5″ x 3-3/4″), Vellum Cardstock (5″ x 1-1/8″)
Ink: Balmy Blue, Blueberry Bushel
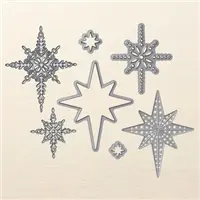
Other: Big Shot, Blizzard Thinlits, Clear Rhinestones, Stampin’ Dimensionals, SNAIL, Fine-tip Glue Pen
Festive Friday Tutorial
Your Step-by-Step Guide
1. Score the Whisper White Thick cardstock at 4-1/4″. Crease with a bone folder. Adhere the Sparkle Glimmer paper to the front of the card.
2. Ink the large background stamp with Balmy Blue, stamp off once, and stamp in the center of the Whisper White cardstock. Repeat with the smaller “splotch” stamp, enlarging the image to form a “background”.
3. Ink the speckle image with Balmy Blue. Do not stamp off. Randomly stamp all over the “background”, re-inking each time.

4. Ink the flourish with Balmy Blue. Stamp onto the upper left of the “background”. Ink again and stamp into the lower right section.

5. Add Blueberry Bushel snowflakes to the upper right and lower left corner of the “background”.

6. Ink the sentiment in Blueberry Bushel and stamp onto the vellum. Allow it to dry before handling it. Adhere to the card, hiding the adhesive under where the glimmer paper snowflakes will be located.

7. Mat this white layer onto Blueberry Bushel cardstock, and adhere to the card base.
8. Use the Blizzard thinlit to die cut Sparkle Glimmer Paper snowflakes. Select three, and adhere to the card as shown. Accent the centers with rhinestones.

The Challenge Twists
As mentioned earlier, Festive Friday is a challenge with twists. We offer alternatives for every challenge. To see all of the inspiration our Design Team has created for you, head on over to Festive Friday Challenges!
Would you like to create your own snowflake card? If you enjoyed today’s card, and would like to create your own snowflake card, the supply list is located below. Clicking on a product takes you right to my store. Be sure to use this month’s Host Code. Online orders over $75 (before tax and shipping) will receive a little gift from me IF you use the Host Code. If your order is $150 or more, please do not use the Host Code. You will automatically receive the gift from me, as well as your own Host Rewards.

December: U4S62766
- Are you in search of a specific retired stamp set? I just might have it on my list of Retired Sets for Sale.
All items on my retired list are on sale at 20% off the price listed through December 4th.
- If you are in need of a Holiday Catalog, an Annual Catalog, or an upcoming 2019 Occasions Catalog, and you do not have a demonstrator, please email me and I will drop one in the mail for you!